
Apps for better pictures

Capturing a good image with my phone’s camera is an abiding frustration. I talked about it in this post, listing some camera settings that can be tinkered with but I wanted to go deeper and tell you about two apps that I’m using with some success. I don’t make any money off these apps, they’re just the ones I chose to use after doing some research.
I purchased the Halide Mark II Pro Camera app, an IOS-specific app to shoot in camera raw format. Raw image are unprocessed and uncompressed, containing all the information that the camera’s sensor captured. The advantage for me lies in the unprocessed feature. That means that my phone makes no preemptive decisions about sharpness, colour and exposure; it’s equivalent to the analog photos I grew up on. But because it’s digital, I can adjust the photo and arrive at a decent representation of the scene.
To adjust the images, I use the Raw Power app. It has more features for me to fiddle with than my iPhone’s native camera editor and it’s meant specifically for adjusting raw files. My favourite is the HSL setting that lets me manipulate individual colours’ saturation, value, and hue independent of the other colours in the scene. Often just one colour is off while the others are fine (for me, it’s often the blues) so this allows me to adjust that problem colour without altering all of the others.
That all sounds like work and baffling work at that, but, once you get familiar with them, these apps are actually easy and intuitive. After purchasing Halide, I received a week of daily emails explaining the various features and how to use them which was helpful for the not-very-tech person that I am. I learned Raw Power through trial and error but I’m sure there are loads of educational YouTube videos out there.
I shot these images yesterday to show you the massive difference that raw files make.
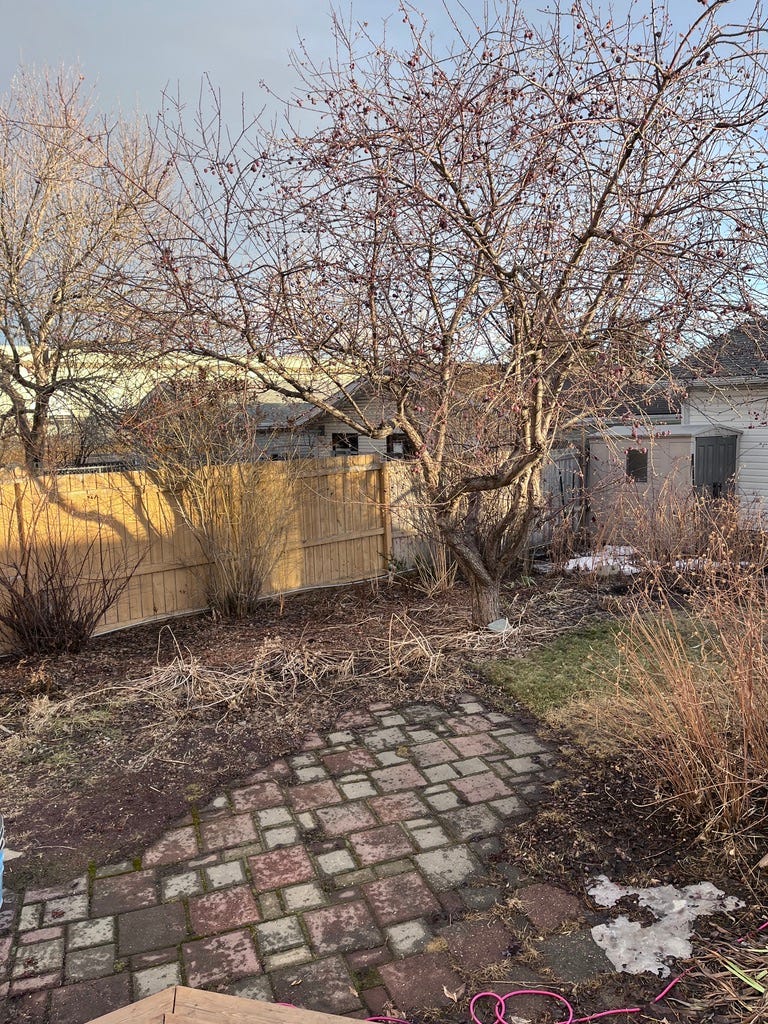
The first is shot with my iPhone’s native camera app, with HDR enabled. Notice how light the “shadow” parts of the scene are because HDR boosted the shadows to a higher value so that we can see into them. The picture seems flat and overall mid value. The light on the fence feels unconvincing because it’s not contrasting with any dark shadows.
Next, I turned off HDR and shot on “Standard” (a setting in “filters” in iPhones). The foreground is marginally darker, adding depth and a touch more tonal drama to the scene but not as dramatic as what I saw. Part of the problem is that the camera is white balancing each area individually. So the overall warmth of the scene doesn’t come through. Instead, it’s a mishmash of warm and cool lighting that doesn’t make sense to me.
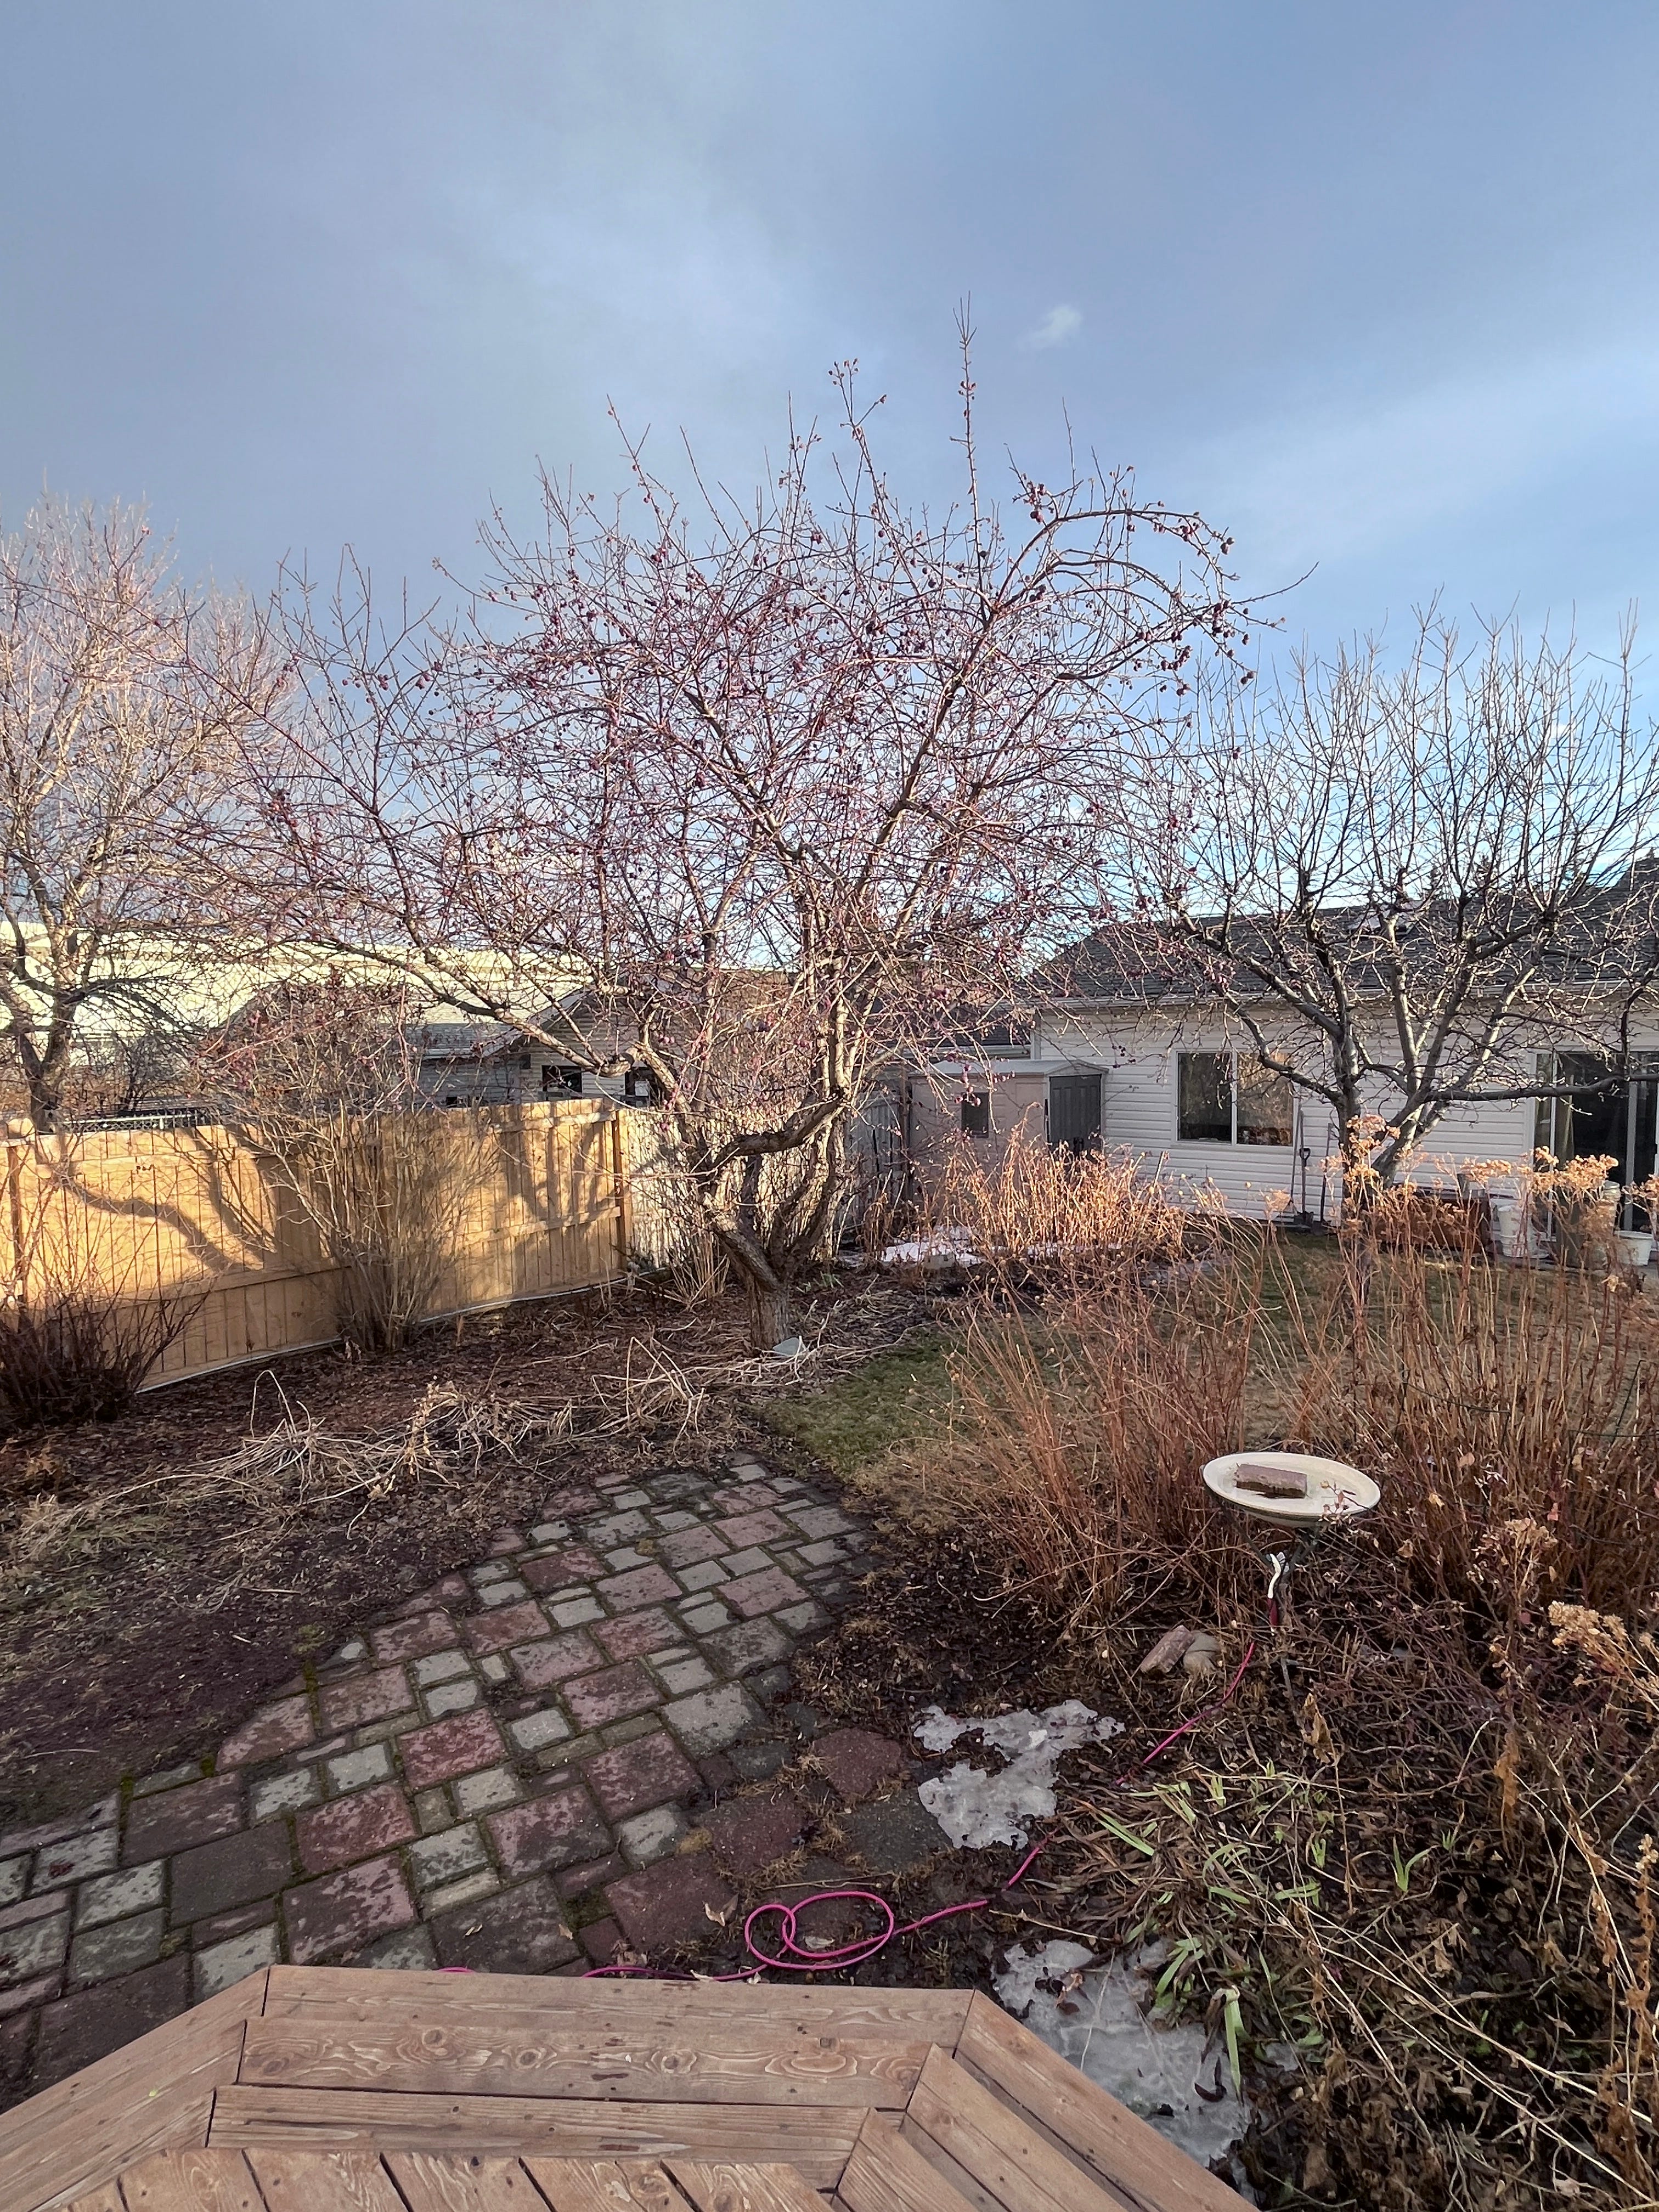
Zoom in on both and you’ll see how ridiculously sharp and contrasty each twig and stem are. It’s not how my eyes work and it distracts from the things that I’m interested in: shape, colour and value relationships.
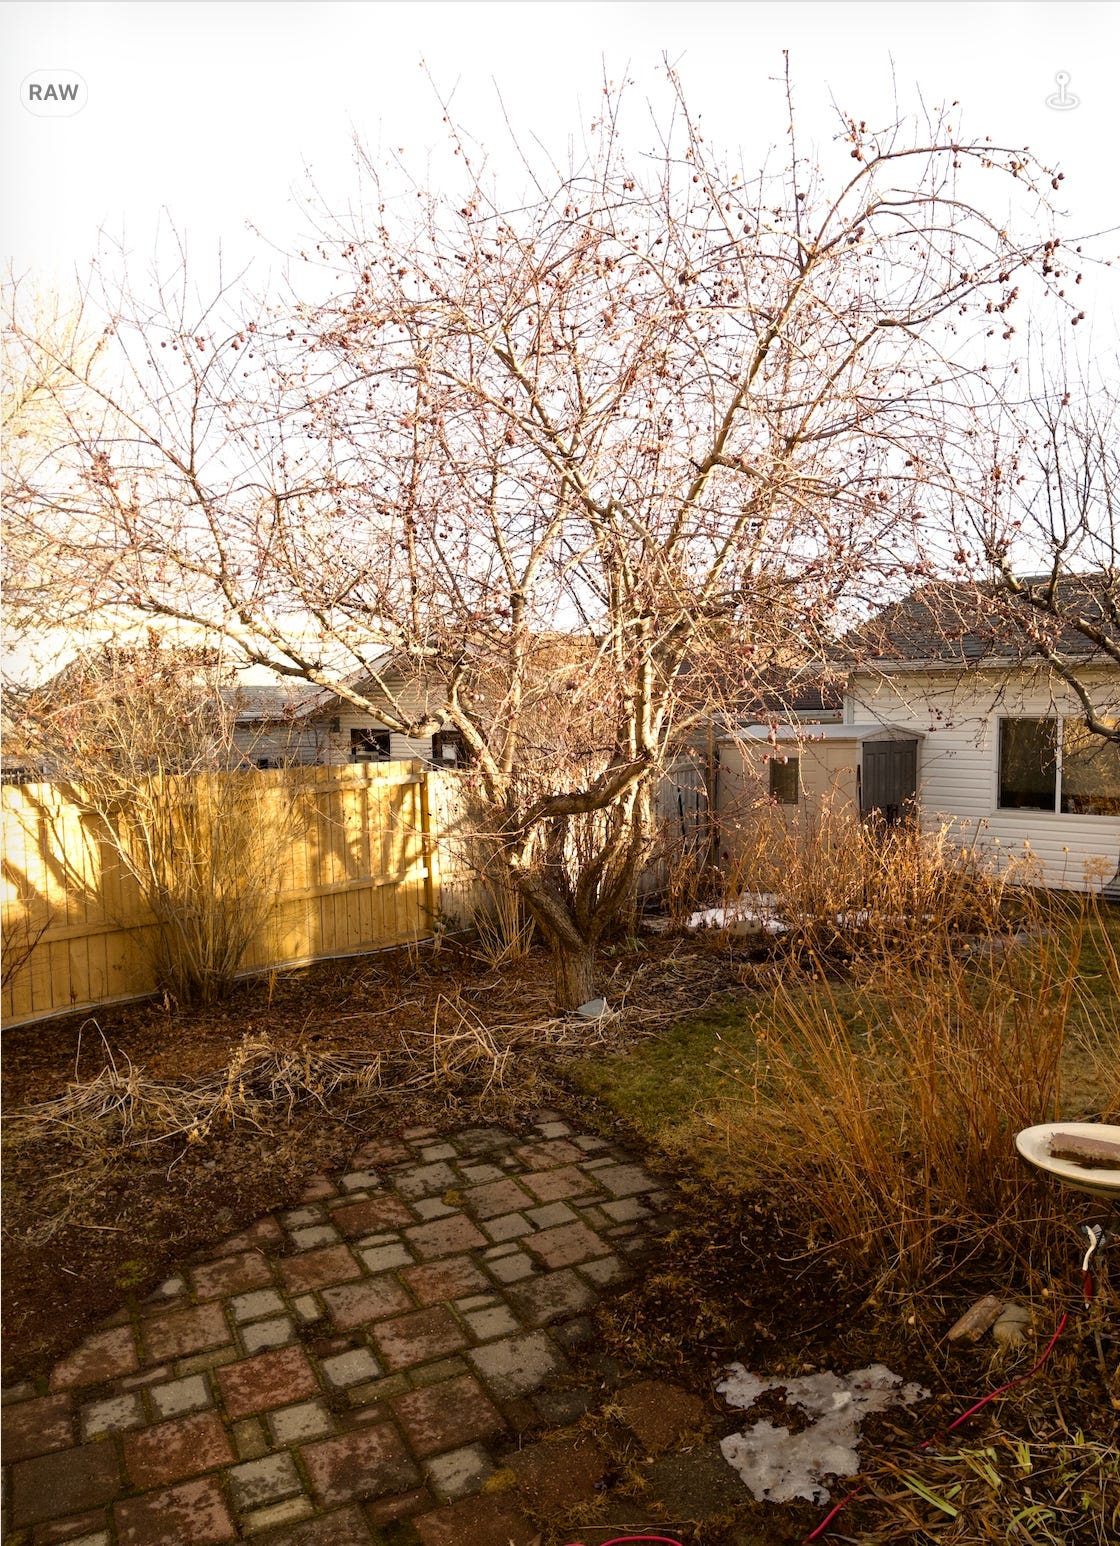
This next image was shot with Halide. This is an old school, unaltered image. It has the overall yellow flavour of the late afternoon sun and there’s an over-exposure problem on the illuminated fence. But, the branches and grasses aren’t as crunchy and eye catching as in the native camera shots.
I had to screenshot this image because raw files are very large and Substack doesn’t allow me to upload them. That can be a problem with sharing your photos so look at your save settings and allow Raw Power to save a copy of your edited image as a jpg. You’ll also want to store your full resolution photos in the cloud to save space in your phone.
Here’s the image after a single adjustment in Raw Power. I darkened the exposure and nothing else and suddenly, it looked like what I was seeing:
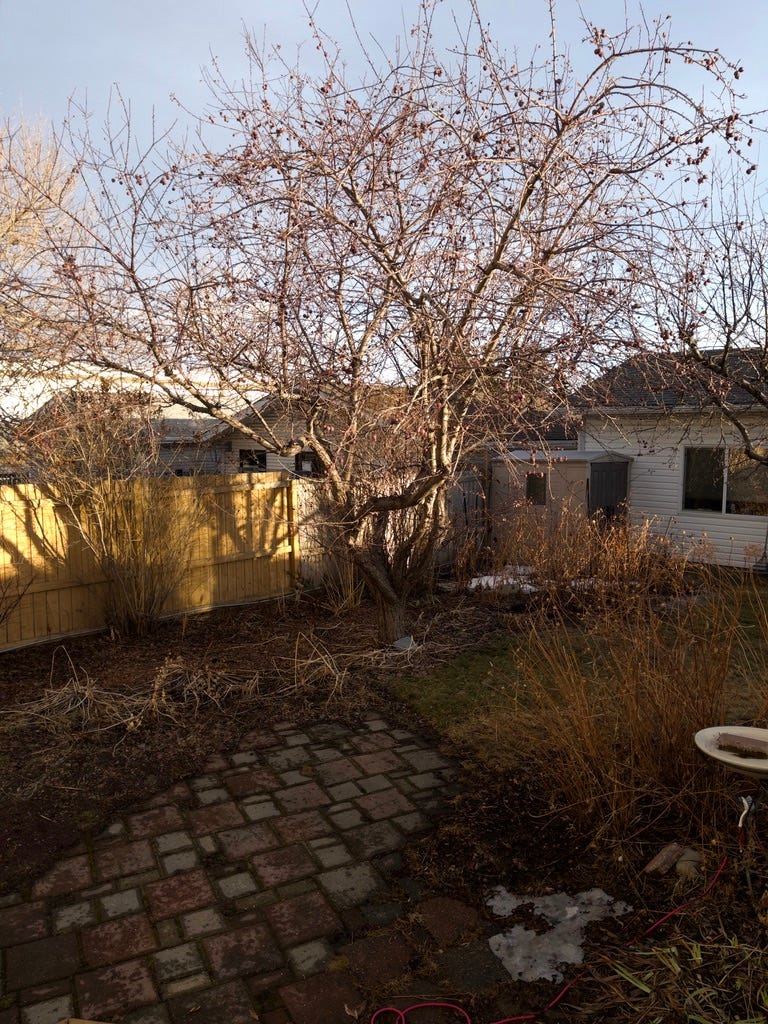
Squint at the image and you’ll see that it’s an arrangement of values from light to dark and colours from muted to rich where the light hits the fence. Yes, zooming in reveals more twigs than my eyes and brain would perceive but that’s because of the high resolution of my camera. It can capture a lot of detail - much more than any painter would want. The main thing is that this image doesn’t boost each detail to make it extra sharp or contrasty.
As well, because the camera didn’t try to balance the temperature of each area individually, the picture has the overall warmth of the time of day. And I can visualize how I’d paint it. I’d start with a warm golden tone over the entire canvas then block in the darks. Next, I’d paint big shapes of warm, earthy grasses and a large dark mass where the tree branches live. Later, I’d enjoy building the thick, juicy lights on the fence and dropping some sky holes and a few branch details into the tree.
This is a good painting reference because, unlike the first two, it allows me to imagine it as a painting.
As an aside, I’ve used Halide to take the first selfies in many years that don’t make me feel like shrieking and jumping off a bridge. A little softness is a welcome thing!
I did attempt to adjust the first images in the iPhone editing app but I couldn’t make them look like the scene. The images’ starting points were just too far from reality.
There are many apps that allow raw shooting and a quick google search will reveal them for both IOS and Android. The important thing is to learn about how you can edit your photos after capturing them.
If, like me, you’re looking for paintable images, I recommend taking the time to do some research, watch some YouTube tutorials, and get an app that will help you achieve your goal. It’s a game changer!
Happy painting!
My writing will always be free, but if you liked this post, I’d be honoured if you’d consider supporting my writing:)
Good information . I don't have an I phone . I use a small digital camera . Any suggestions for that ?
Thanks Ingrid. I have both of these apps for making images I can send off to a print maker. I didn't realize the other benefits you described. Does the "Buy Me a Coffee" button still work?😊